Tutorial: Let's build a mushroom app!
In this tutorial we will build an web app for finding and identifying mushrooms using p2panda. We will build the application with React, Webpack and TypeScript.
This tutorial assumes that you already have experience in using npm, React, Webpack and TypeScript. We want to rather focus on using the JavaScript library shirokuma (which is a user-friendly wrapper around p2panda-js). That being said, if you are a beginner, this is also for you as most of the code has already been written!
The idea of the application is inspired by PlantNet: Users can create entries of different mushrooms to create some sort of community-run encyclopaedia. If you're around in the forest you can take a picture of a spotted mushroom, give it a GPS position and mark it with the mushroom database entry you think it might be. You can even select multiple mushrooms if you are not sure. The uploaded pictures of all users will show up in some sort of feed.
Of course this is a very simple mushrooming app and we can think of many cool features already now: Like users giving comments on your findings, rating them and even giving suggestions / votes which mushroom it can be - or you could show a world map of all mushroom findings with the help of the GPS positions. Or you can delete findings if they are wrong! All of this is possible with p2panda, you can hack on it if you want after reading this tutorial.
All cool polar mushroom animals know that it is not always possible to identify mushrooms based on pictures. There are many other factors as well: The smell, the colour of the spores, the surroundings, time of the year, change of colour after rain and more! Sometimes you even need a microscope to see the spores - to really be sure.
What do I need?
- NodeJS
- Editor
- Terminal
- Browser
How do I install NodeJS?
You can check out the official Installing Node.js via package manager guidelines here. But we would recommend you installing a NodeJS version manager like nvm, or even better n. We used the NodeJS version 18.8.0 for this tutorial.
Start node
Every p2panda client needs a node to talk to, so let's start one! You can follow the Set up a local node tutorial to learn how to compile a node yourself, but for this tutorial we are going to use a pre-compiled binaries.
Visit the releases page on the aquadoggo github repository and download the binary compiled for your system and unpack in a directory of your choice. In the command line, navigate to the directory where the aquadoggo binary is and run the following command:
# Start your aquadoggo node.
./aquadoggo
If there is no binary available for your system, don't worry, you can follow the Set up a local node tutorial to learn how to compile a node yourself.
Now you have a local node running on port 2020. You can check if everything is alright by opening your browser and surfing to http://localhost:2020/graphql, do you see the GraphQL playground? Super. We will play with it soon!
Download the application code
Since this is not a tutorial about how to write a React web-application, we already prepared most of the source code for you. This is how you can set it up:
# Clone the `mushroom-app-tutorial` git repository
git clone https://github.com/p2panda/mushroom-app-tutorial.git

# Move into the folder you've just created
cd mushroom-app-tutorial

# Install NodeJS dependencies
npm install
Let's stay in the mushroom-app-tutorial directory from now on, we will look into some code and run a script here.
Create a schema
We already know what the mushroom app will be capable of, but we need to define as well how the data will look like. What sort of data do we want to publish, query and visualise in this application?
In p2panda we can create schemas which will help us to define the shape of the data we need. Nodes will register these schemas and start supporting them. As soon as a node supports a schema you can send that data to it and the node will give you a nice GraphQL API to query it in different ways.
For every p2panda application we want to build, we have to define the schemas first we want to use. It could be that there are many even, depending on how complex your program will become.
Usually we have to define the schemas only once, as soon as they are deployed on a real node they can be spread across the network: Other nodes will download it automatically when they think it's a good idea to support your schema.
A single node can support many schema, nodes share data based on the schema that they have in common. By default a node is happy to discover and support any schema it finds on the network, this is great for experimenting and during development, but in production you will want to limit this to only schema you want to support.
During development we might want to create the schema multiple times, because we're deleting the database of our node or we've made some changes to the schema. That's okay!
If you're running a node with default configurations then it is "ephemeral" and already no data will be persisted between runs. For other cases (using an SQLite db for example) check out the aquadoggo Tutorial to find out.
Enough of all of this theory! How does the data now look like for our mushroom app?
mushroom Schema
We want users to make encyclopaedia entries about all sorts of mushrooms, similar to a wiki. We keep it simple for now: The mushroom schema needs a title, a description, the latin name (because we are real mycologists) and an edible flag which indicates if we can eat this mushroom or if it is deadly poisonous.
title: Stringdescription: Stringlatin: Stringedible: Boolean
mushroom_finding Schema
Next to the mushroom entries we need the mushroom_finding feed of the users. They want to upload a picture (as blob), define a lat and lon GPS position and mark which mushrooms they think it could have been. The users can select one or many mushrooms by simply just referring to the encyclopaedia entries.
Relating to the mushroom entries is possible with a relation list. This is a special sort of field where we can refer to documents of the same or even another schema, simply by mentioning their identifiers. A relation is also used in the blob field, where we relate to documents of type blob_v1, this is an in-built document type used for publishing binary data. Documents of this type are materialized to the filesystem and served from the node at an HTTP endpoint (you'll see exactly how later).
blob: Relation withblob_v1documentslat: Floatlon: Floatmushrooms: Relation List withmushroomdocuments
Register schemas
In this tutorial we are creating our schema programatically by publishing operations to the node from the front-end code. There is another tutorial showing you how you can create schemas with the command line tool fishy. For this tutorial this is not necessary, but it's a good next step if you want to learn more about schema creation, or for when you start developing your own application.
We could create these schemas now manually by sending operations to our node, but we already have that prepared for you. Just run the following command inside the mushroom-app-tutorial directory:
# Create schemas and send them to node
npm run schema
This will create the two schemas mushroom and mushroom_finding and register them on your locally running node. You can go to http://localhost:2020/graphql to check out the GraphQL playground, there you can now see the newly created schemas in the Docs tab on the right side!
Oh, maybe you should refresh the page then (the playground's auto-refresh can be turned on / off).
You can see that the script gave us some instructions on what to do next:
Next step: Create a file `./schemas.json` and paste this into it:
{
  "MUSHROOM_SCHEMA_ID": "mushroom_0020c3accb0b0c8822ecc0309190e23de5f7f6c82f660ce08023a1d74e055a3d7c4d",
  "FINDINGS_SCHEMA_ID": "mushroom_finding_0020aaabb3edecb2e8b491b0c0cb6d7d175e4db0e9da6003b93de354feb9c52891d0"
}
Your schema ids will look a little bit different since every generated schema is unique! Let's do what the program says and create a schemas.json file where we copy this JSON inside. This will tell the program what schemas to look for when doing the GraphQL queries.
Build the application
Designing and creating a schema is a very large part of building an p2panda application. The other part is implementing the interface! Suddenly we're back at normal web development: Spending long time figuring out how to set up TypeScript, Webpack, some linters like eslint and prettier etc., building React components and views integrating a router and so on. If you are a web developer then this part will be very familiar to you, so let's focus rather on the parts which make it a special p2panda application.
To build something with p2panda in TypeScript or JavaScript we can use the package shirokuma. With it we can do the most important things: 1. Initialise the WebAssembly code 2. Generate a key pair 3. Create and send p2panda operations to a node. We query documents back from the node using a lightweight GraphQL client.
Let's go through them step by step!
Initialise WebAssembly
shirokuma uses p2panda-js under the hood, and this is actually mainly developed in Rust and compiled as WebAssembly with a thin TypeScript wrapper around it to make it feel more like a regular TypeScript package. Using WebAssembly is a little bit special and requires you to initialise it before you can use it.
In shirokuma we can simply do this like that:
import { initWebAssembly } from 'shirokuma';
await initWebAssembly();
Good question! We are encoding the WebAssembly code as a base64 string inside the JavaScript files. This is why it just works like that. If you want to manually load the .wasm file we have you covered as well, just check out the README.md of the package.
You might already see the problem here though: The initWebAssembly function is async! This means that we have to wait until we can do anything else, like generating a key pair for the user or sending our first operation to the node.
Luckily React can help us with some convenient patterns, let's look at the src/components/InitWasm.tsx file to see how we did it in the mushroom app:
import React, { useEffect, useState } from 'react';
import { initWebAssembly } from 'shirokuma';

type Props = {
  children: JSX.Element;
};

export const InitWasm: React.FC<Props> = ({ children }) => {
  const [ready, setReady] = useState(false);

  useEffect(() => {
    const init = async () => {
      await initWebAssembly();
      setReady(true);
    };

    init();
  }, []);

  return ready ? children : null;
};
The InitWasm component will load all children components as soon as everything got initialised. If you are concerned about loading times (it should be less than a couple of milliseconds) then you can even add a small spinner here.
We wrap the whole application component App around InitWasm and make sure nothing gets executed before we are ready:
const Root: React.FC = () => {
  return (
    <InitWasm>
      <App />
    </InitWasm>
  );
};
Generate key pair
Right after we initialised the WebAssembly we want to make sure that the user gets a key pair. This is required to give the user some sort of identity but also to sign the data the user want's to create.
It is quite easy to generate a new key pair with shirokuma:
import { KeyPair } from 'shirokuma';
const keyPair = new KeyPair();
But we do not always want to generate a new key pair every time the user comes back to the website! We should persist the private key using the Window.LocalStorage API:
import { KeyPair } from 'shirokuma';

const LOCAL_STORAGE_KEY = 'privateKey';

function getKeyPair(): KeyPair {
  // Check if a private key already exists and derive key pair from it if yes
  const privateKey = window.localStorage.getItem(LOCAL_STORAGE_KEY);
  if (privateKey) {
    return new KeyPair(privateKey);
  }

  // Generate a new key pair otherwise and persist it in localStorage
  const keyPair = new KeyPair();
  window.localStorage.setItem(LOCAL_STORAGE_KEY, keyPair.privateKey());
  return keyPair;
}
Now we can just call getKeyPair and we will either receive a new key pair when doing it for the first time or the old one if we're coming back.
Session
shirokuma exports the Session object which offers us a useful interface for publishing operations to a node. It can be configured with an endpoint, key pair, and schema id. It can be useful to instantiate it at the beginning of your application and keep it around for making queries later. Starting a Session looks like this:
import { KeyPair, Session } from 'shirokuma';

const ENDPOINT = 'localhost:2020/graphql';

const keyPair = new KeyPair();
const session = new Session(ENDPOINT).setKeyPair(keyPair);
But how do we now share this information across the whole React application? As a React developer you might know some patterns probably: Prop drilling, Redux, Contexts .. there are many options and it is basically up to you! In the mushroom app we've decided to use the Context pattern which gets especially interesting if we have many components. Let's have a look at the src/P2pandaContext.tsx file:
import React, { useMemo } from 'react';
import { KeyPair, Session } from 'shirokuma';
import { ENDPOINT } from './constants';

const LOCAL_STORAGE_KEY = 'privateKey';

function getKeyPair(): KeyPair {
  // ...
}

type Context = {
  publicKey: string | null;
  keyPair: KeyPair | null;
  session: Session | null;
};

export const P2pandaContext = React.createContext<Context>({
  publicKey: null,
  keyPair: null,
  session: null,
});

type Props = {
  children: JSX.Element;
};

export const P2pandaProvider: React.FC<Props> = ({ children }) => {
  const state = useMemo(() => {
    const keyPair = getKeyPair();
    const session = new Session(ENDPOINT).setKeyPair(keyPair);

    return {
      keyPair,
      publicKey: keyPair.publicKey(),
      session,
    };
  }, []);

  return (
    <P2pandaContext.Provider value={state}>{children}</P2pandaContext.Provider>
  );
};
The P2pandaProvider helps us to establish the state of the P2pandaContext by calling getKeyPair and instantiating a Session. From that point on we can consume this app state by using P2pandaContext.Consumer in other components like that:
<P2pandaContext.Consumer>
  {({ publicKey }) => {
    return <p>Hello, {publicKey}!</p>;
  }}
</P2pandaContext.Consumer>
If you need the keyPair already before, you can import the useContext hook and access all values like that:
import { useContext } from 'react';
const { keyPair } = useContext(P2pandaContext);
Really handy!
We have to make sure to establish the P2pandaProvider in the application as well, we're doing this right at the beginning, next to InitWasm:
const Root: React.FC = () => {
  return (
    <InitWasm>
      <P2pandaProvider>
        <App />
      </P2pandaProvider>
    </InitWasm>
  );
};
Publish operations
Operations are the building blocks of p2panda, they are the instructions we publish to a node in order to CREATE, UPDATE and DELETE documents.
Session offers us a long running interface for publishing operations to a node, setting it up and creating a document looks like this:
import { KeyPair, Session } from 'shirokuma';

const keyPair = new KeyPair();
const session = new Session('localhost:2020/graphql').setKeyPair(keyPair);
const fields = {
  title: 'Mario Mushroom',
  latin: 'Marius Fungus',
  edible: true,
  description: 'It makes you grow',
};

const documentId = await session.create(fields, {
  schemaId: MUSHROOM_SCHEMA_ID,
});
Yes! We're creating our first mushroom document here!
shirokuma also runs in NodeJS and there you don't even need to initialise the WebAssembly! It is fun to play with the API in the interactive NodeJS environment. Just type node inside the the mushroom-app-tutorial folder, type const shirokuma = require('shirokuma'), hit Enter, and then you can directly get started, for example by writing const keyPair = new shirokuma.KeyPair()!
In the example above we are already using the schema id we've created before. Usually you want to keep the schema id in some central place, like in src/constants.ts. Especially after you officially released your p2panda application it will stay hard-coded like that since schema ids never change, except of when you migrate to a new schema version of course (but then you also very likely will update your application).
Updating a schema after releasing an application will not break it! Schema ids are immutable identifiers of the schema for exactly that version of it. If you introduce a new version, old applications will still point at the previous schema id and the new ones can already support the latest schema.
In the future we want to offer Lenses to automatically support old and new schemas, especially in a p2p system this gets very important after a while.
If we're updating or deleting a document we need to specify what document we want to apply these changes on. This we do by passing in the viewId. The viewId you can get from the GraphQL API, whenever you query for the documents you want to update or delete.
All of this you find in the src/requests.ts file, there you will find other queries as well, for example to create mushroom_finding documents.
Query documents
You can use any GraphQL client to query documents back from the node, let's set ours up quickly like this:
import { GraphQLClient, gql } from 'graphql-request';
const client = new GraphQLClient('http://localhost:2020/graphql');
In this tutorial we're using graphql-request as a GraphQL client. We like this one because it is very simple and lightweight, but there are many others as well, for example Apollo.
After creating the mushroom documents we want to query them as well. We can do this like that:
type Meta = {
  viewId: string;
  documentId: string;
};

type Mushroom = {
  description: string;
  edible: boolean;
  latin: string;
  title: string;
};

type MushroomResponse = {
  meta: Meta;
  fields: Mushroom;
};

async function getAllMushrooms(): Promise<MushroomResponse[]> {
  const query = gql`{
    mushrooms: all_${MUSHROOM_SCHEMA_ID} {
      documents {
        meta {
          documentId
          viewId
        }
        fields {
          description
          edible
          latin
          title
        }
      }
    }
  }`;

  const { mushrooms } = await client.request(query);
  return mushrooms.documents;
}
If you prepend the schema id in the query with all_ you receive a collection of all mushroom documents.
The specification already mentions pagination, filters and sorting but we have not implemented it yet, it will come soon!
See how we can also get some meta fields from the regarding mushroom documents? We can get the documentId and viewId for each entry, this helps us to update or delete the data as mentioned earlier.
If you want to only load one mushroom you can write something like this:
async function getMushroom(documentId: string): Promise<MushroomResponse> {
  const query = gql`{
    mushroom: ${MUSHROOM_SCHEMA_ID}(id: "${documentId}") {
      meta {
        documentId
        viewId
      }
      fields {
        description
        edible
        latin
        title
      }
    }
  }`;

  const { mushroom } = await client.request(query);
  return mushroom;
}
Now we talked almost about everything you need to build an p2panda application with React. You can dive a little bit more inside of the source code to see some details, but we should have covered the most important parts concerning p2panda!
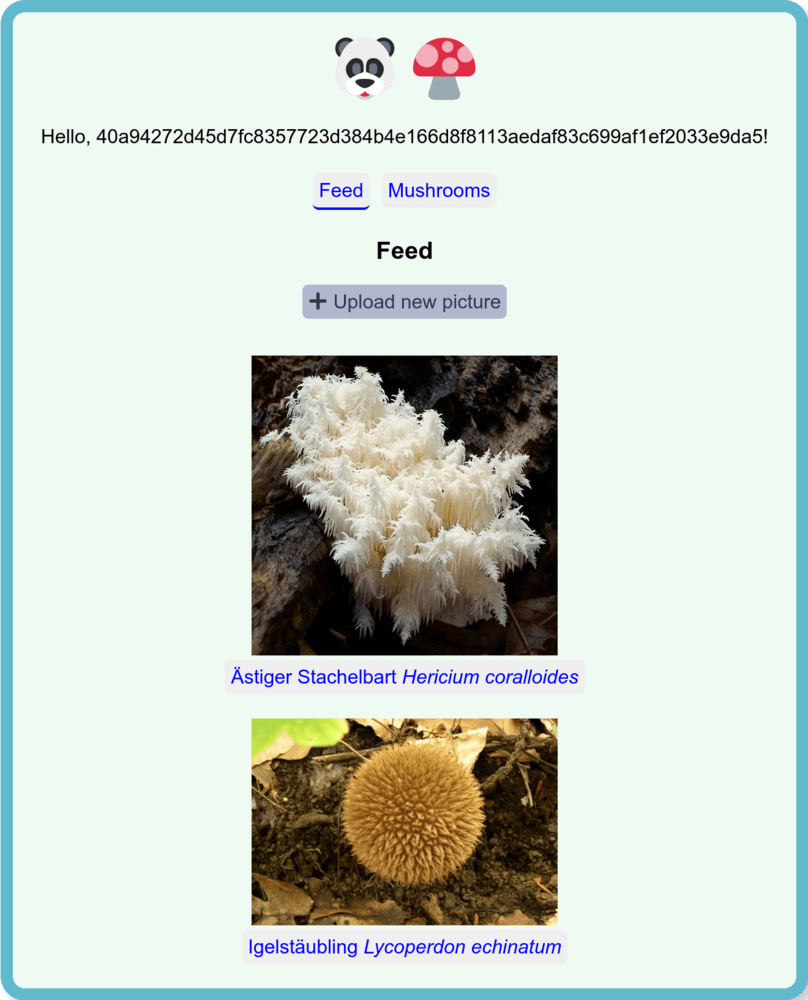
Run the application
Finally, let's use the mushroom app now!
npm start
This will run the web application under http://localhost:8080. You can open it in your browser and start playing with it. If you're curious you can also check the GraphQL playground of the aquadoggo and make some queries there to compare!