Tutorial: Embed a node in Tauri
In this tutorial we will see how to embed an aquadoggo node in a Tauri app. Tauri is a framework for building apps which have a Rust backend and WebView frontend which will compile for all major desktop platforms (mobile coming soon). This means we can easily package our aquadoggo node alongside a frontend written in your favorite web framework (or none at all!).
In this tutorial we will focus on the backend code, where we'll embed our node, implement secure persistent storage for both WebView (LocalStorage) and node data, demonstrate useful node configuration flows, populate the node with app schemas on startup and define commands callable from the frontend.
We'll look at the frontend code which demonstrates advanced GraphQL queries and how to publish and retrieve blobs in the following tutorials.
What do I need?
- NodeJS
- Rust
- Tauri dependencies
- Editor
- Terminal
This tutorial requires you to have a working Rust environment and all Tauri dependencies installed. If you have never worked with Rust and/or Tauri before this is no problem! Setting it up is fairly easy and besides using some basic command line commands there is no more Rust knowledge required to make the node run on your computer.
How do I install NodeJS?
You can check out the official Installing Node.js via package manager guidelines here. But we would recommend you installing a NodeJS version manager like nvm, or even better n. We used the NodeJS version 18.17.0 for this tutorial.
How do I install Rust & Tauri dependencies?
Make sure you have a working Rust environment and all Tauri dependencies installed on your computer before you begin with the tutorial. You can check Rust is installed by running rustc --version in your terminal. This tutorial was written with Rust version 1.75.0 but it will probably also work with other versions.
If you don't have Rust installed yet or you need just the Tauri dependencies you can follow the steps from the Tauri website: Tauri: Getting Started.
aquadoggo?If you aren't familiar with aquadoggo then I recommend checking out the "Set up a local node" tutorial before you do this one. It focuses on using aquadoggo on the command line, but all the features and configuration parameters are the same when working with it programmatically.
Download the application code
Everything we need for this tutorial is in the p2panda/tauri-example repository. Download the code and install NodeJS dependencies like so.
# Clone the `tauri-example` git repository
git clone https://github.com/p2panda/tauri-example

# Move into the folder you've just created
cd tauri-example

# Install NodeJS dependencies
npm install
Run the application
First we're going to simply run the application, this will compile the front and backend and launch the app in dev mode. The first step (compilation) will likely take... a while.... don't worry though, this is only the case the first time you run the command, after that only incremental compilation is required and things will be a lot quicker.
# Run the tauri app in dev mode
npm run tauri dev
When we launch an app in "dev" mode it means we are still in development, and so rather than an optimized build with production settings, we want to work in a developer friendly environment. In this case that means we don't persist any app data to the filesystem and want code hot-reloading to be activated (the app updates automatically when we edit the code).
You should see some output in your terminal like this (missing out the long compilation process):
npm run tauri dev

> p2panda-tauri-example@0.0.0 tauri
> tauri dev

     Running BeforeDevCommand (`npm run dev`)

> p2panda-tauri-example@0.0.0 dev
> vite


  VITE v4.5.2  ready in 135 ms

  ➜  Local:   http://localhost:1420/
  ➜  Network: use --host to expose
...
...
...
        Info Watching /home/sandreae/Code/tauri-example-test/src-tauri for changes...
    Finished dev [unoptimized + debuginfo] target(s) in 0.19s
Go to http://0.0.0.0:2020/graphql to use GraphQL playground
Peer id: 12D3KooWPzHvt52CYkYPvejsBjgjcsqyBszcEQrDhDp6RSdYx6qx
Node is listening on 0.0.0.0:2022
Schema migration: app schemas successfully deployed on initial start-up
We're using vite to package the frontend code and assets, you can see that a dev server is started at http://localhost:1420/. This is where tauri will look for the frontend app during development. Next the Rust code is compiled and eventually the app is launched. The last four lines are logging from the aquadoggo node which has now started up. You can go to localhost:2020/graphql to check the GraphQL playground is being served correctly.
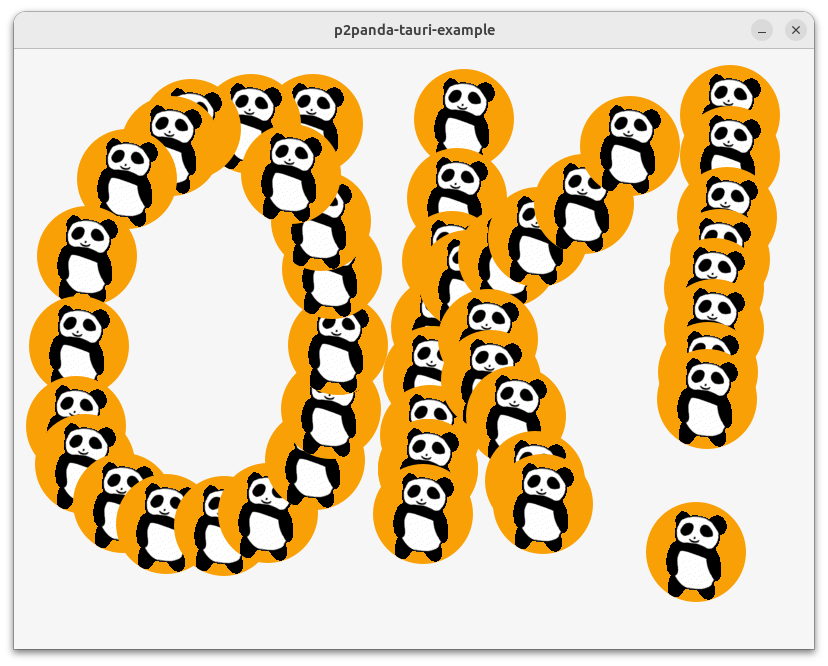
The app window should now have opened, it'll be a blank screen.... not very interesting... until you start clicking! Then you can draw pointless messages like this with panda gif stickers (yay!):
How does it all work?
A lot happened there, but it's worth pointing out now that you don't actually need to know much about it if you just want to start hacking on a web client (for that you can go straight to src/ where all the frontend JavaScript code is). This tutorial would be quite short if we didn't dig a bit deeper though. Let's take it step by step.
As we saw from the logging, a node did start up, so where did it come from?
Embedding an aquadoggo node
Add aquadoggo to Cargo.toml
The absolute first thing we need to do to use aquadoggo in any rust project is to add it as a dependency in our Cargo.toml file. We'll need p2panda-rs for creating an identity for the node too so let's add that now as well.
[dependencies]
p2panda-rs = "0.8.1"
aquadoggo = "0.7.1"
The aquadoggo crate gives us access to an API with which we can configure, start, migrate data to, and stop our node.
This is all done from the frontend code via the GraphQL API!
Start the node
We can start a node like this:
use aquadoggo::{Configuration, Node};
use p2panda_rs::identity::KeyPair;

// We're using `tokio::runtime` to make main async.
#[tokio::main]
async fn main() {
    // Generate a key pair for the node identity.
    let key_pair = KeyPair::new();

    // Construct a default configuration.
    let config = Configuration::default();

    // Start the node!
    let node = Node::start(key_pair, config).await;

    // The node is already started now, wait here on the blocking future `on_exit` which resolves when any of the node's services exit with an
    // error or because of user closure.
    node.on_exit().await;

    // Finally we call `shutdown` to gracefully close all remaining services, including database connections.
    node.shutdown().await;
}
You can see the complete runtime life of a node in the above code, mostly it spends it's time running in the background, responding to HTTP and GraphQL requests from clients, and replicating with other nodes. The main point of interest for this tutorial is how we wrap this simple code into a tauri app and configure the node at runtime.
Tauri integration
Project structure
Let's take a look into the project directory src-tauri/:
├── build.rs
├── Cargo.lock
├── Cargo.toml
├── icons
│   └── ...
├── resources
│   └── ...
├── src
│   │── main.rs
│   └── ...
└── Tauri.toml
To anyone who's worked with the Rust programming language much of this will look very familiar. We have a Cargo.toml and Cargo.lock for managing dependencies, and a src/ folder where our project code lives. Everything else here are Tauri specific conventions.
If you check the Cargo.toml file you'll see that we're importing the tauri crate as a dependency:
[dependencies]
tauri = { version = "1.4", features = ["shell-open", "config-toml"] }
There are many useful features of Tauri that we won't touch on at all in this tutorial, checkout out the "features page" for more info.
And here is a brief explanation of the other files and folders used by the Tauri app:
build.rs
- the default tauri build file, we won't do anything here in this tutorial.
icons
- icons for your app in many platform specific shapes and sizes. We won't do anything here in this tutorial check the tauri docs on how to generate your own icons.
resources/
- resources we want access to at application runtime can be placed here and retrieved via the tauri API.
Tauri.toml
- this is our Tauri app configuration file, there are many features with fine grained configurable options.
You can scaffold a tauri project using their create-tauri-app tool which is available via cargo, npm and more. This very project was scaffolded in that way. More information on their "Quick Start" page.
Ok, let's get into some code now, we'll step through building a tauri app, starting our node and getting access to useful logs.
Build the tauri app
// src/main.rs
fn main() {
    tauri::Builder::default()
        .run(tauri::generate_context!())
        .expect("error while running tauri application");
}
This is the tauri builder, the code above builds an app which... doesn't do anything... let's already add our aquadoggo.
Launching aquadoggo
// src/main.rs
use aquadoggo::{Configuration, Node};
use p2panda_rs::identity::KeyPair;

/// Setup handler where we launch our `aquadoggo` before the app starts.
fn setup_handler(app: &mut tauri::App) -> Result<(), Box<dyn std::error::Error + 'static>> {
    let key_pair = KeyPair::new();
    let config = Configuration::default();

    tauri::async_runtime::spawn(async {
        let node = Node::start(key_pair, config).await;
        node.on_exit().await;
        node.shutdown().await;
    });

    Ok(())
}

fn main() {
    tauri::Builder::default()
        // Add setup handler which launches our node before the app runs.
        .setup(setup_handler)
        .run(tauri::generate_context!())
        .expect("error while running tauri application");
}
This will look very familiar to the example code for starting a node that we looked at earlier. The only change is that we are launching the node in it's own async task from a setup handler which the Tauri app builder runs before the application starts. We will be doing more setup here in later steps.
Access the logs
// src/main.rs
use aquadoggo::{Configuration, Node};
use p2panda_rs::identity::KeyPair;

/// Setup handler where we launch our `aquadoggo` before the app starts.
fn setup_handler(app: &mut tauri::App) -> Result<(), Box<dyn std::error::Error + 'static>> {
    let key_pair = KeyPair::new();
    let config = Configuration::default();

    tauri::async_runtime::spawn(async {
        let node = Node::start(key_pair, config).await;
        node.on_exit().await;
        node.shutdown().await;
    });

    Ok(())
}

fn main() {
    // Enable logging if set via `RUST_LOG` environment variable.
    if std::env::var("RUST_LOG").is_ok() {
        let _ = env_logger::builder().try_init();
    }

    tauri::Builder::default()
        .setup(setup_handler)
        .run(tauri::generate_context!())
        .expect("error while running tauri application");
}
We will want access to logs from our application and any important dependencies (especially from aqaudoggo) to do that we're building a Logger instance which will capture and make available any logs bubbling up.
Now if we start the app, aquadoggo should launch in the background. We can access the logs to check this is happening correctly:
npm run tauri dev
...
...
...
    Finished dev [unoptimized + debuginfo] target(s) in 42.59s
Go to http://0.0.0.0:2020/graphql to use GraphQL playground
Peer id: 12D3KooWFNVNAaR16ciUise7W2mMmodD993BDANE44q3NJehXTuz
Node is listening on 0.0.0.0:2022```
[2024-01-26T10:36:31Z INFO  aquadoggo::manager] Start materializer service
[2024-01-26T10:36:31Z INFO  aquadoggo::materializer::worker] Register reduce worker with pool size 16
[2024-01-26T10:36:31Z INFO  aquadoggo::materializer::worker] Register dependency worker with pool size 16
[2024-01-26T10:36:31Z INFO  aquadoggo::materializer::worker] Register schema worker with pool size 16
[2024-01-26T10:36:31Z INFO  aquadoggo::materializer::worker] Register blob worker with pool size 16
[2024-01-26T10:36:31Z INFO  aquadoggo::materializer::worker] Register garbage_collection worker with pool size 16
[2024-01-26T10:36:31Z INFO  aquadoggo::manager] Start http service
[2024-01-26T10:36:31Z INFO  aquadoggo::manager] Start network service
[2024-01-26T10:36:31Z INFO  aquadoggo::network::service] Networking service initializing...
[2024-01-26T10:36:31Z INFO  aquadoggo::network::service] Network service ready!
[2024-01-26T10:36:31Z INFO  aquadoggo::manager] Start replication service
Ok, that's great! We're already quite far. Next up is to start integrating some core Tauri features.
The WebView
Let's add a WebView to our app, this is where the client code and UI will be running:
use aquadoggo::{Configuration, Node};
use p2panda_rs::identity::KeyPair;

/// Setup handler where we launch our `aquadoggo` before the app starts.
fn setup_handler(app: &mut tauri::App) -> Result<(), Box<dyn std::error::Error + 'static>> {
    // Get a handle on the running application which gives us access to global state and
    // app configuration values.
    let app = app.handle();

    // Build the WebView.
    tauri::WindowBuilder::new(&app, "main", tauri::WindowUrl::App("index.html".into()))
        .resizable(false)
        .fullscreen(false)
        .inner_size(800.0, 600.0)
        .title("p2panda-tauri-example")
        .build()?;

    let key_pair = KeyPair::new();
    let config = Configuration::default();

    tauri::async_runtime::spawn(async {
        let node = Node::start(key_pair, config).await;
        node.on_exit().await;
        node.shutdown().await;
    });

    Ok(())
}
Persistent storage
There are actually two places where application data will be persisted from, one is the backend where we are working now, this will be things like the aquadoggo identity, config and database, the other is from the frontend client code. When working in the browser we're quite used to using LocalStorage to persist data between sessions. We use this very same pattern in Tauri, except we now have control over where and how this data is stored on the filesystem.
On a Linux platform the app data directory will be ~/.local/share/{identifier} with {identifier} coming from your Tauri.toml configuration file:
# Tauri.toml
[tauri.bundle]
identifier = "p2panda-tauri-example"
For our application we want both our WebView and node data to be persisted between app runs, and it would be nice if it was in the same location, so let's configure it that way now.
/// Utilities for key pairs.
mod key_pair;

use aquadoggo::{Configuration, Node};
use p2panda_rs::identity::KeyPair;

use crate::key_pair::generate_or_load_key_pair;

/// Setup handler where we launch our `aquadoggo` before the app starts.
fn setup_handler(app: &mut tauri::App) -> Result<(), Box<dyn std::error::Error + 'static>> {
    // Get a handle on the running application which gives us access to global state and
    // app configuration values.
    let app = app.handle();

    // Get the recommended app data directory.
    let app_data_dir = app
        .path_resolver()
        .app_data_dir()
        .expect("recommended app data dir is detected");

    // If it doesn't exist yet, create it now.
    if !app_data_dir.is_dir() {
        DirBuilder::new().create(app_data_dir.clone())?;
    };

    // Build the WebView.
    tauri::WindowBuilder::new(&app, "main", tauri::WindowUrl::App("index.html".into()))
        // Set the data directory for our WebView
        .data_directory(app_data_dir.clone())
        .resizable(false)
        .fullscreen(false)
        .inner_size(800.0, 600.0)
        .title("p2panda-tauri-example")
        .build()?;

    // Create a KeyPair or load it from private-key.txt file in app data directory.
    //
    // This key pair is used to identify the node on the network, it is not used for signing
    // any application data.
    let key_pair = generate_or_load_key_pair(&app_data_dir)?;

    let config = Configuration::default();
    // Set database url based on app data dir path.
    config.database_url = format!(
        "sqlite:{}/db.sqlite3",
        app_data_dir.to_str().expect("invalid character in path")
    );
    // Set blobs base path to app data dir.
    config.blobs_base_path = Some(app_data_dir);

    tauri::async_runtime::spawn(async {
        let node = Node::start(key_pair, config).await;
        node.on_exit().await;
        node.shutdown().await;
    });

    Ok(())
}
There's a bit more going on in setup_handler now. First we get a handle on the running app from which we can access global state and configuration values. From this we get the recommended app data directory path and create it if it doesn't exist yet (it won't if this is the first time the app is run). We then set the data directory for our WebView, load or generate a new keypair, configure node storage locations for our database and blobs.
We're using a new crate module key_pair for the logic around loading or generating our node identity, we won't look into that now as it's not so interesting for this tutorial, but feel free to head over to src/key_pair.rs if you want to know more.
Node configuration
Now we have a running node which will persist app data between sessions, great! If you've checked out the "Set up a local node" tutorial then you'll know there are many aquadoggo configurations to play with, and we will likely want users of our app to be able to decide some of these themselves.
The aquadoggo CLI can be configured via a config.toml file and we're going to use the same approach in our Tauri app. We'll take the following steps to do this:
- include a default
config.tomlin our appsresourcesand copy it into the app data directory on first start-up - load this file and configure our
aquadoggonode with it when the app runs
To do this we make use of the Tauri resources directory. We can see that this is configured in our Tauri.toml file like this:
# Tauri.toml
resources = [ "resources/*" ]
Doing this means that any files in the resources directory will be bundled together with our app during compilation and we can access them via the resolve_resource method we get from the tauri crates PathResolver.
At this point we will also perform a little refactor as our app setup code is growing. We'll introduce a new module config and export a method for handling all of the above. We won't look into this module code in detail as it is fairly generic, see src/config.rs if you want to know more. We also add our default config.toml file to resources/config.toml. Our setup code now looks like this:
mod key_pair;
/// Utilities for node configuration.
mod config;

use aquadoggo::Node;
use p2panda_rs::identity::KeyPair;

use crate::config::{app_data_dir, load_config};
use crate::key_pair::generate_or_load_key_pair;

/// Setup handler where we launch our `aquadoggo` before the app starts.
fn setup_handler(app: &mut tauri::App) -> Result<(), Box<dyn std::error::Error + 'static>> {
    let app = app.handle();
    // Getting and creating the app data directory has been refactored away here.
    let app_data_dir = app_data_dir(&app)?;

    // Manually construct the app WebView window as we want to set a custom data directory.
    tauri::WindowBuilder::new(&app, "main", tauri::WindowUrl::App("index.html".into()))
        .data_directory(app_data_dir.clone())
        .resizable(false)
        .fullscreen(false)
        .inner_size(800.0, 600.0)
        .title("p2panda-tauri-example")
        .build()?;

    // Create a KeyPair or load it from private-key.txt file in app data directory.
    //
    // This key pair is used to identify the node on the network, it is not used for signing
    // any application data.
    let key_pair = generate_or_load_key_pair(&app_data_dir)?;

    // Load the config from app data directory. If this is the first time the app is
    // being run then the default aquadoggo config file is copied into place and used.
    //
    // Environment variables are also parsed and will take priority over values in the config
    // file.
    let config = load_config(&app, &app_data_dir)?;

    tauri::async_runtime::spawn(async {
        let node = Node::start(key_pair, config).await;
        node.on_exit().await;
        node.shutdown().await;
    });

    Ok(())
}
On a Linux platform the app config file will be located at ~/.local/share/{identifier}/config.toml, the embedded node can now be configured by editing this file. Check out the aquadoggo cli repo for details on your many options.
It's true, you could build a very nice GUI dashboard for handling node configuration instead of manually editing a config file. We'd be excited to see anyone's attempt at this ;-p
Schema migration
Schemas are an important aspect of developing applications with p2panda and aquadoggo, they are how we define the shape of data we will be using in our application, and schema ids are how nodes communicate to each other which collections of documents they are interested in. When you build a local first p2panda application you are likely going to want to bundle these schema with your app, and publish them to your local node. If you want to know how to create a schema then at this point it's worth looking through the "Create a schema" tutorial, you can continue this tutorial without doing that though. It's enough to know that we have a pre-generated schema.lock file which contains our schema, and we want to bundle this with our app and publish the contents of it to our node on startup. To do this we can use the resources folder and API again.
We will add our schema.toml and schema.lock files to the resources resources/ folder.
Schema exist on a p2panda network in the same way that any other documents do, they are the result of publishing operations. Because of this, it's possible to ambiently discover schema and start publishing documents following their form. We bundle them in this application here though as we already want to use the schema even if we're offline or not connected to a network yet. It is however possible to rely on your peers to send you the schema as well.
mod key_pair;
mod config;
/// Utilities for schema.lock file.
mod schema;

use aquadoggo::{Configuration, Node};
use p2panda_rs::identity::KeyPair;

use crate::config::{app_data_dir, load_config};
use crate::key_pair::generate_or_load_key_pair;
use crate::schema::load_schema_lock;

/// Setup handler where we launch our `aquadoggo` before the app starts.
fn setup_handler(app: &mut tauri::App) -> Result<(), Box<dyn std::error::Error + 'static>> {
    let app = app.handle();
    let app_data_dir = app_data_dir(&app)?;

    tauri::WindowBuilder::new(&app, "main", tauri::WindowUrl::App("index.html".into()))
        .data_directory(app_data_dir.clone())
        .resizable(false)
        .fullscreen(false)
        .inner_size(800.0, 600.0)
        .title("p2panda-tauri-example")
        .build()?;

    let key_pair = generate_or_load_key_pair(&app_data_dir)?;
    let config = load_config(&app, &app_data_dir)?;

    // Load the schema.lock file containing our app schema which will be published to the node.
    let schema_lock = load_schema_lock(&app)?;

    tauri::async_runtime::spawn(async {
        let node = Node::start(key_pair, config).await;
        // Migrate the app schemas, returns true if schema were migrated, false if no migration was required.
        let did_migrate_schemas = node
            .migrate(schema_lock)
            .await
            .expect("failed to migrate app schema");

        if did_migrate_schemas {
            println!("Schema migration: app schemas successfully deployed on initial start-up");
        }

        node.on_exit().await;
        node.shutdown().await;
    });

    Ok(())
}
Show schema.toml file.
This is the schemas.toml file used to generate our schema.lock:
# resources/schema.toml
[sprite_images]
description = "An image which can be assigned to a sprite"

[sprite_images.fields]
blob = { type = "relation", schema = { id = "blob_v1" } }
description = { type = "str" }
timestamp = { type = "int" }

[sprites]
description = "A sprite which can be placed on a 2 dimensional plane"

[sprites.fields]
img = { type = "relation", schema = { name = "sprite_images" } }
pos_x = { type = "int" }
pos_y = { type = "int" }
timestamp = { type = "int" }
colour = { type = "str" }
Ok, we're pretty much done with the setup code! We have a Tauri app that launches an aquadoggo in the background, configures it based on a config.toml file, persists app data to platform default storage location, and migrates relevant schema to the node on first startup. We really are ready to build a frontend client! This however, is now up to you now :-) there is a GraphQL API waiting to serve your app, you can publish data using the p2panda TypeScript SDK shirokuma, and any GraphQL client can be used for querying documents from the embedded node. Have a look at the tutorial "Let's build a mushroom app" to learn more about client building.
There is a JavaScript client app wrapped in this project of course, otherwise none of the clicky panda sticker fun would be possible. Have a look into the src/ directory to explore the code. It's a very simple client, but still demonstrates the powerful query API that our node is exploring. Int scr/queries.js you will find all the GraphQL queries the client uses, they make use of filtering, ordering and paginating document collections. Hopefully it demonstrates that thoughtful schema and query design can reduce the need for complex app logic greatly.
This tutorial is already growing quite long! But we still have a little more exciting bonus material to finish with.
Tauri commands
Tauri commands allow you to define methods in your Rust code and automatically have them exposed in the client. We will use this now to communicate the HTTP port our node is using to the client app. This is just an example though, there could be many other uses for this feature.
What this looks like in the (heavily redacted) rust code:
use aquadoggo::Node;
use tauri::{async_runtime, Manager, State};

use crate::config::{app_data_dir, load_config};
use crate::key_pair::generate_or_load_key_pair;
use crate::schema::load_schema_lock;

struct HttpPort(u16);

#[tauri::command]
fn http_port_command(state: State<HttpPort>) -> u16 {
    state.0
}

fn setup_handler(app: &mut tauri::App) -> Result<(), Box<dyn std::error::Error + 'static>> {
    let app = app.handle();
    let app_data_dir = app_data_dir(&app)?;

    // ...

    let config = load_config(&app, &app_data_dir)?;
    // Add the configured nodes http port to the app state so we can access it from the frontend.
    app.manage(HttpPort(config.http_port));

    // ...
}

fn main() {
    // ...

    tauri::Builder::default()
        .setup(setup_handler)
        .invoke_handler(tauri::generate_handler![http_port_command])
        .run(tauri::generate_context!())
        .expect("error while running tauri application");
}
And then in the frontend you'd do something like this:
import { invoke } from '@tauri-apps/api/tauri';

const init = async () => {
  const HTTP_PORT = await invoke('http_port_command');
};
Temp app storage during development
It was skimmed over in the code examples above, but during development we probably don't want to persist our app data between each run, so when getting the recommended app data directory path we are first checking if we are actually in dev mode, and if so creating a tmp directory which will be used for all app data instead of the recommended filesystem paths. This is done like so:
// src/config.rs

use std::fs::{self, DirBuilder};
use std::path::PathBuf;
use std::sync::OnceLock;

use anyhow::Result;
use tauri::AppHandle;
use tempdir::TempDir;

static TMP_DIR: OnceLock<TempDir> = OnceLock::new();

/// Get path to the current app data directory.
///
/// If in dev mode app data is persisted to an ephemeral tmp folder. Otherwise app data path is
/// based on Tauri recommended defaults and app name defined in our Tauri.conf file.
pub fn app_data_dir(app: &AppHandle) -> Result<PathBuf, anyhow::Error> {
    let path = if cfg!(dev) {
        TMP_DIR
            .get_or_init(|| {
                // Initialise a `TempDir` instance globally to make sure it does not run out of
                // scope and gets deleted before the end of the application runtime
                TempDir::new("p2panda-tauri-example").expect("Could not create temporary directory")
            })
            .path()
            .to_path_buf()
    } else {
        let path = app
            .path_resolver()
            .app_data_dir()
            .expect("recommended app data dir is detected");

        // Create app data directory if it doesn't exist yet.
        if !path.is_dir() {
            DirBuilder::new().create(path.clone())?;
        };

        path
    };

    Ok(path)
}
Multiple nodes / replication
During development it's really useful to be able to start many nodes and observe local discovery and replication of data. We built this into the p2panda Tauri boilerplate for you. To launch multiple app instances simple simple run the following commands:
# Start a dev server for the client code which will be shared across app instances.
npm run dev

# In a new terminal, launch an app instance
npm run peer

# In another new terminal, launch another app instance
npm run peer

# etc....
Eventually you'll will end up with something which looks like this:
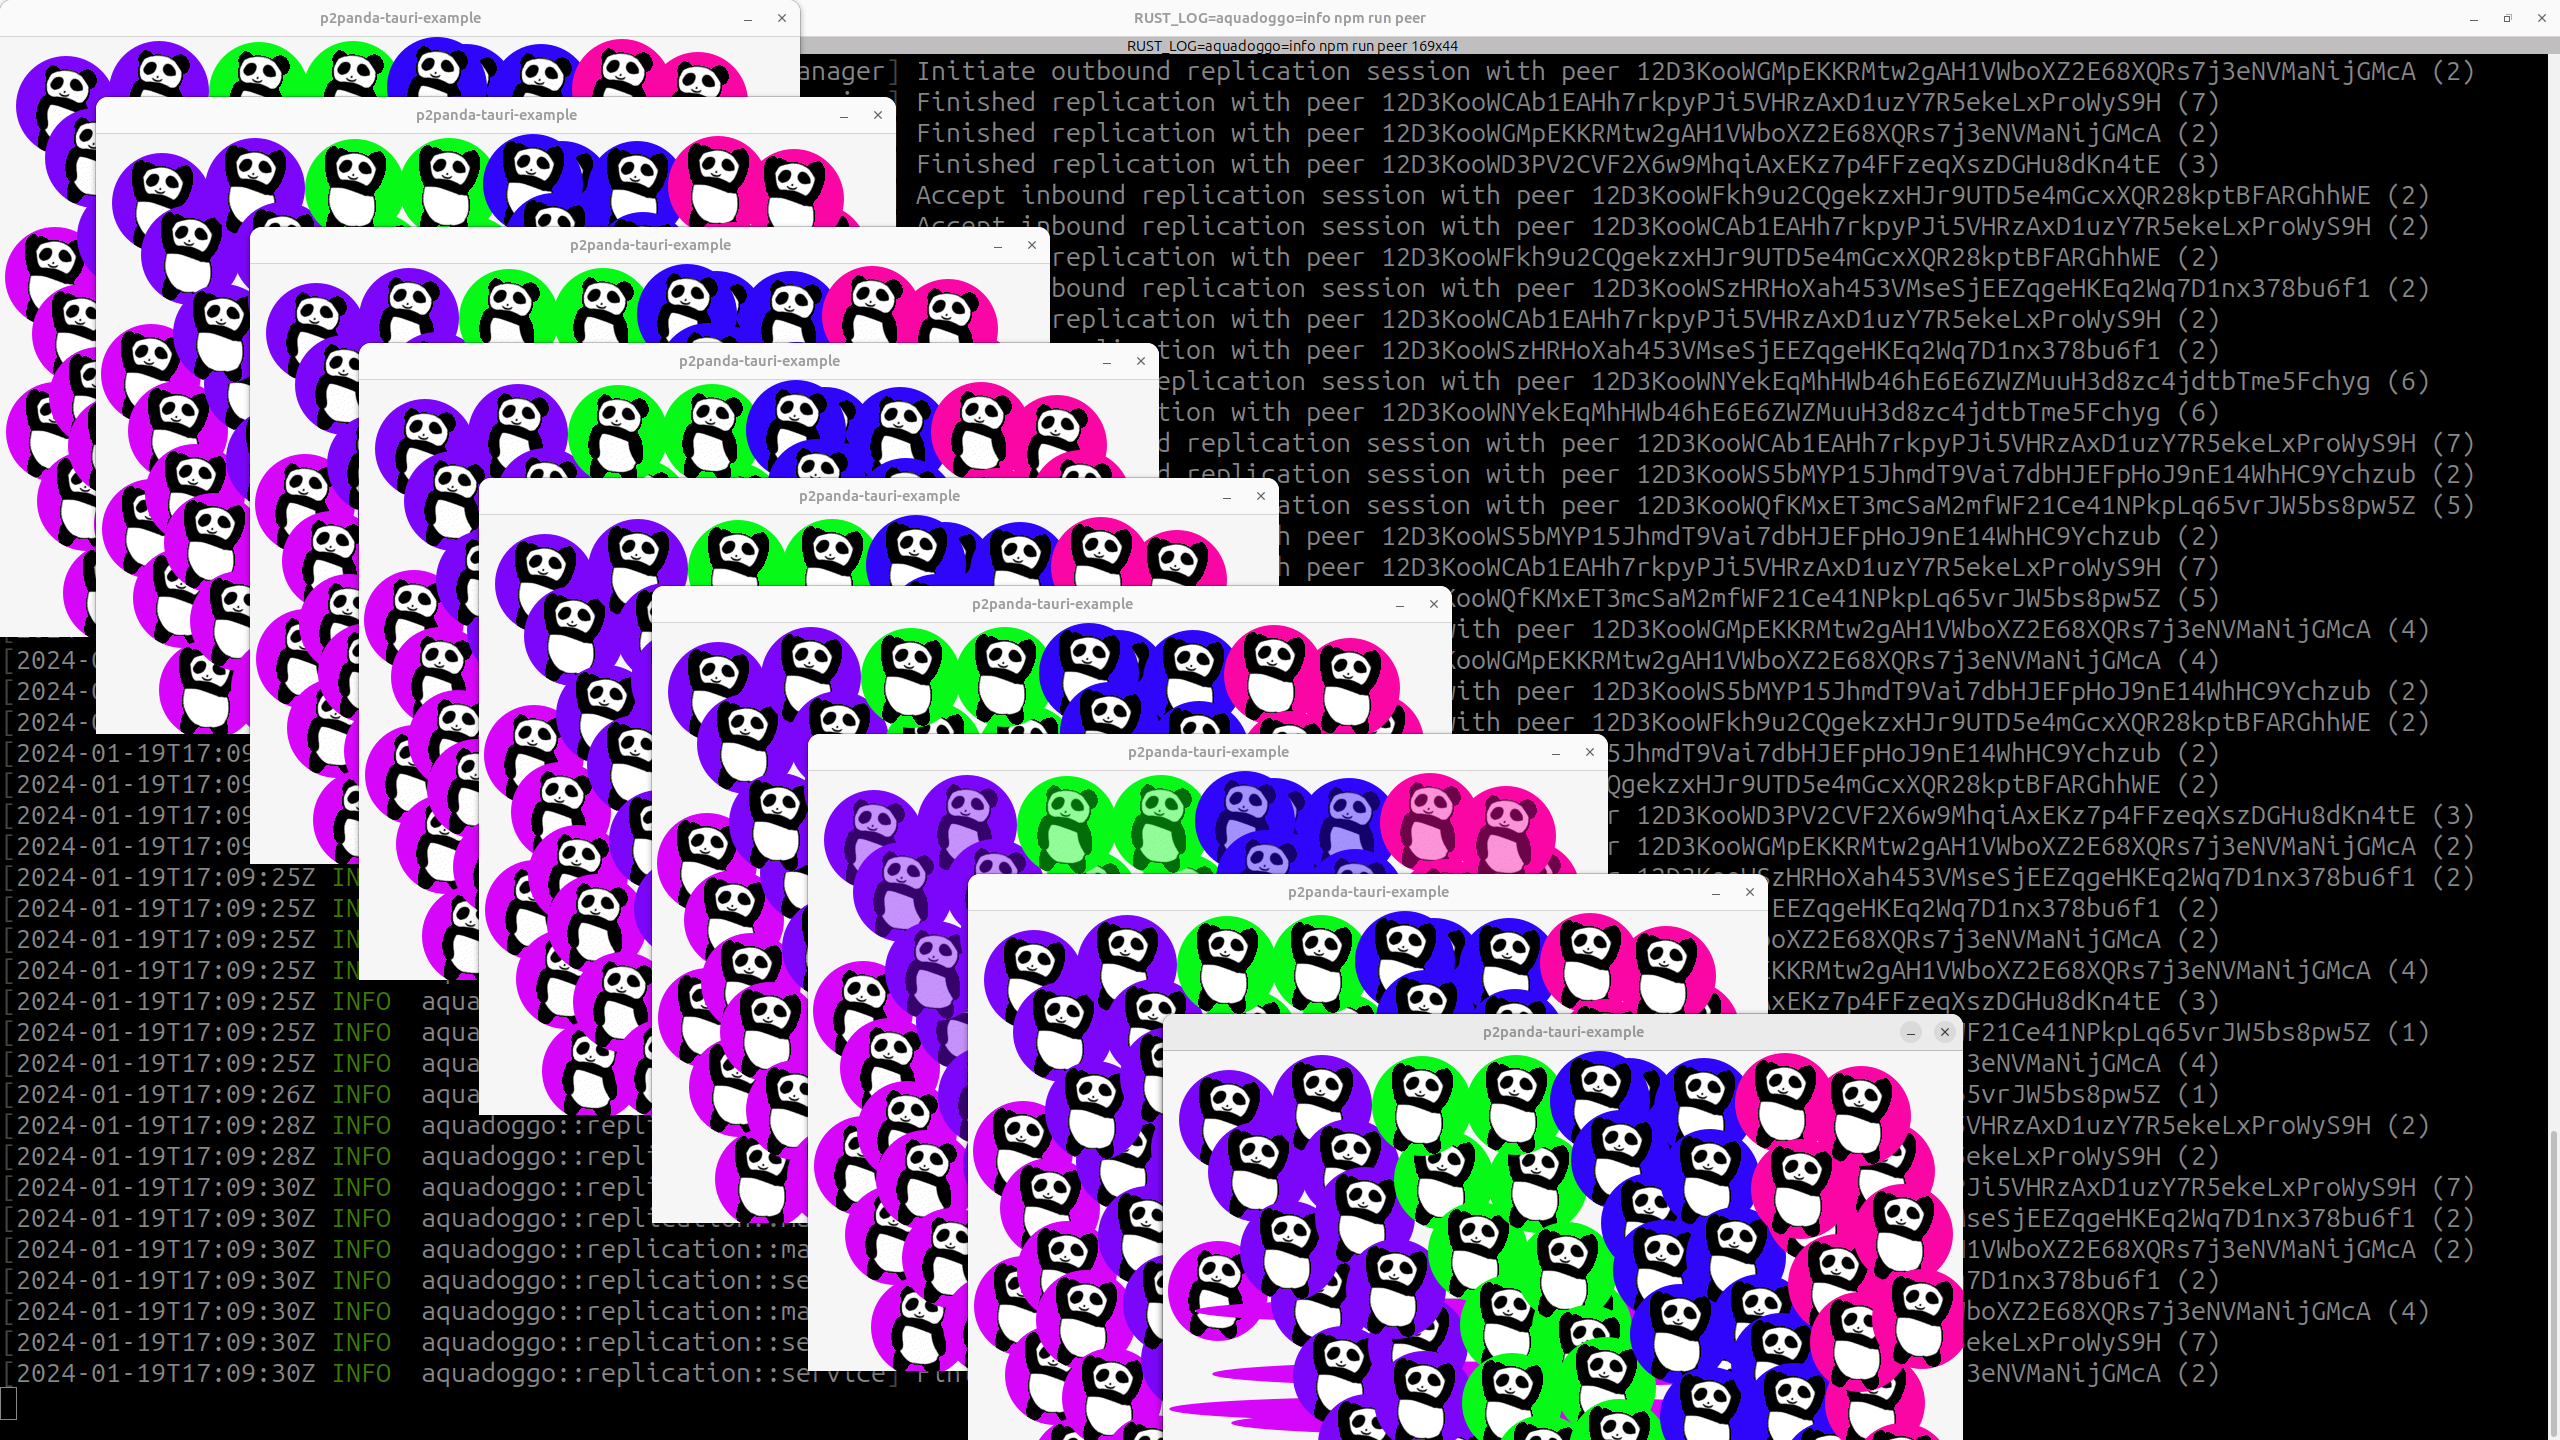
Glad you asked! Panda color is deterministically generated from your clients public key ;-p this means we can see which authors published which pandas once data starts replicating around. Cool, right?!
Multi-platform compilation
Last but absolutely not least, when the time comes, you will want to compile binaries for your application. And a big reason for using Tauri is the fact that it takes care of cross-compiling this very application for all major desktop operating systems (and soon mobile too).
Local compilation
npm run tauri build
This will bundle your app for as a .deb file and as an AppImage.
ci bundle release
There is a ci task, triggered on pushing a new git tag, that compiles your app for all major desktop platforms and pushes the assets to a new github release. You can trigger this with the following commands:
# Create a tag for this version
git tag v0.1.0

# Push the tag to github
git push origin main --tags
Ok, well done making it this far, that is really the end! Happy Tauri X p2panda hacking!!